

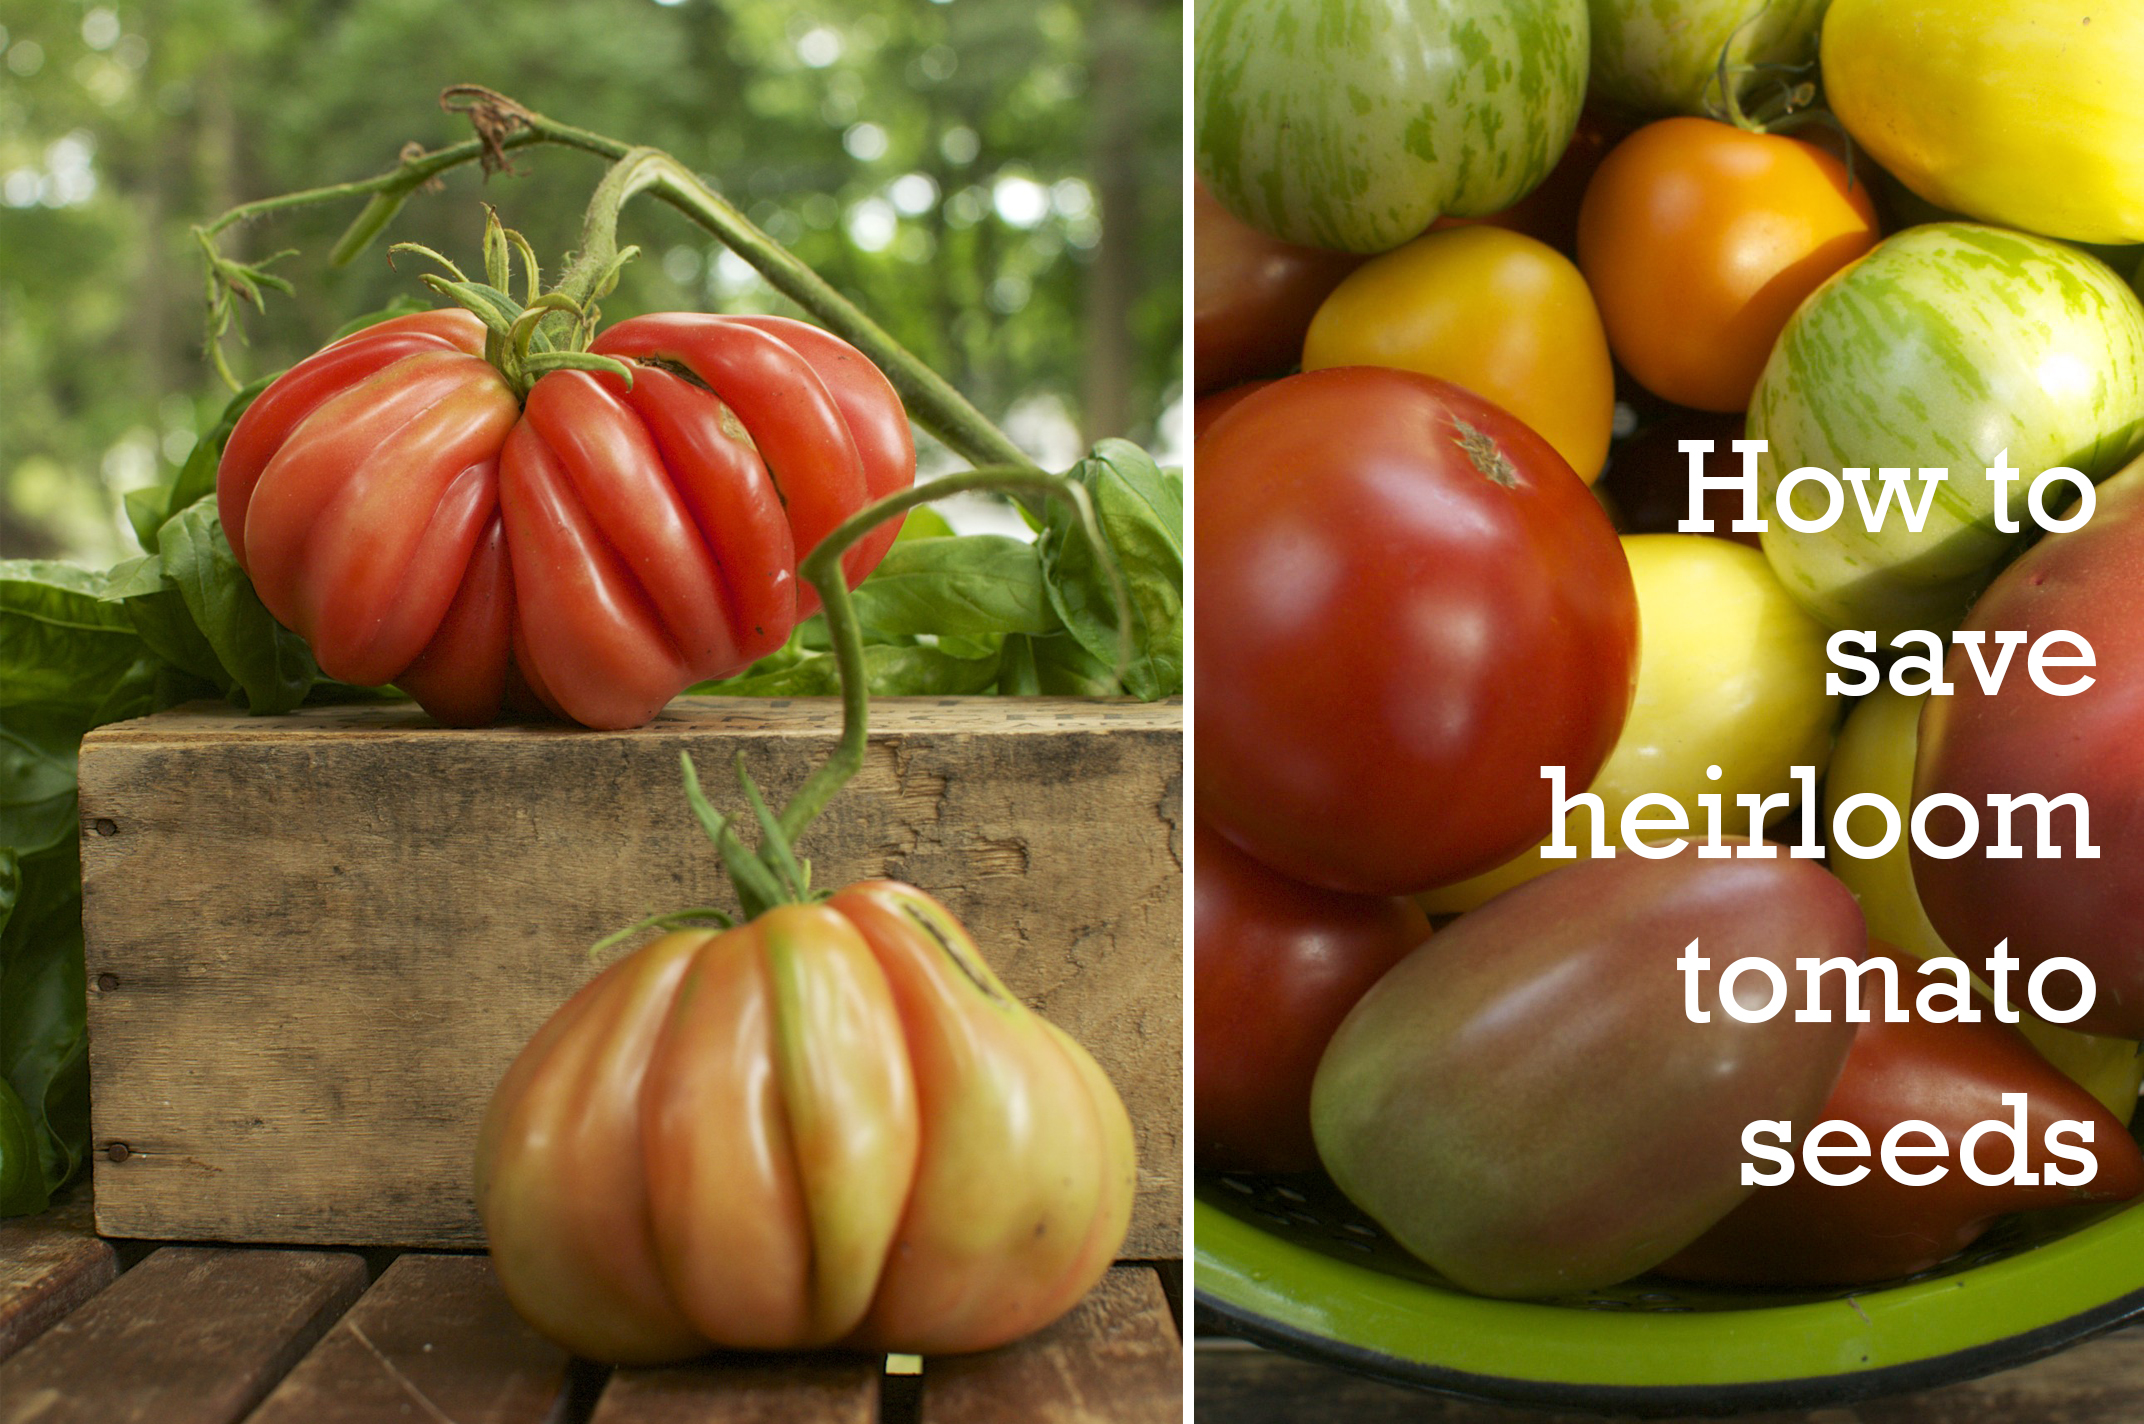
How
to: Save Heirloom Tomato Seeds
Saving your own tomato seeds is rather fun and has all sorts of
benefits. Preserving heirloom seeds, ensuring a supply of your own favorites
for next year, helping protect seed diversity, making a giant mess of stinky
fermenting goo, it’s all there! It’s also pretty easy.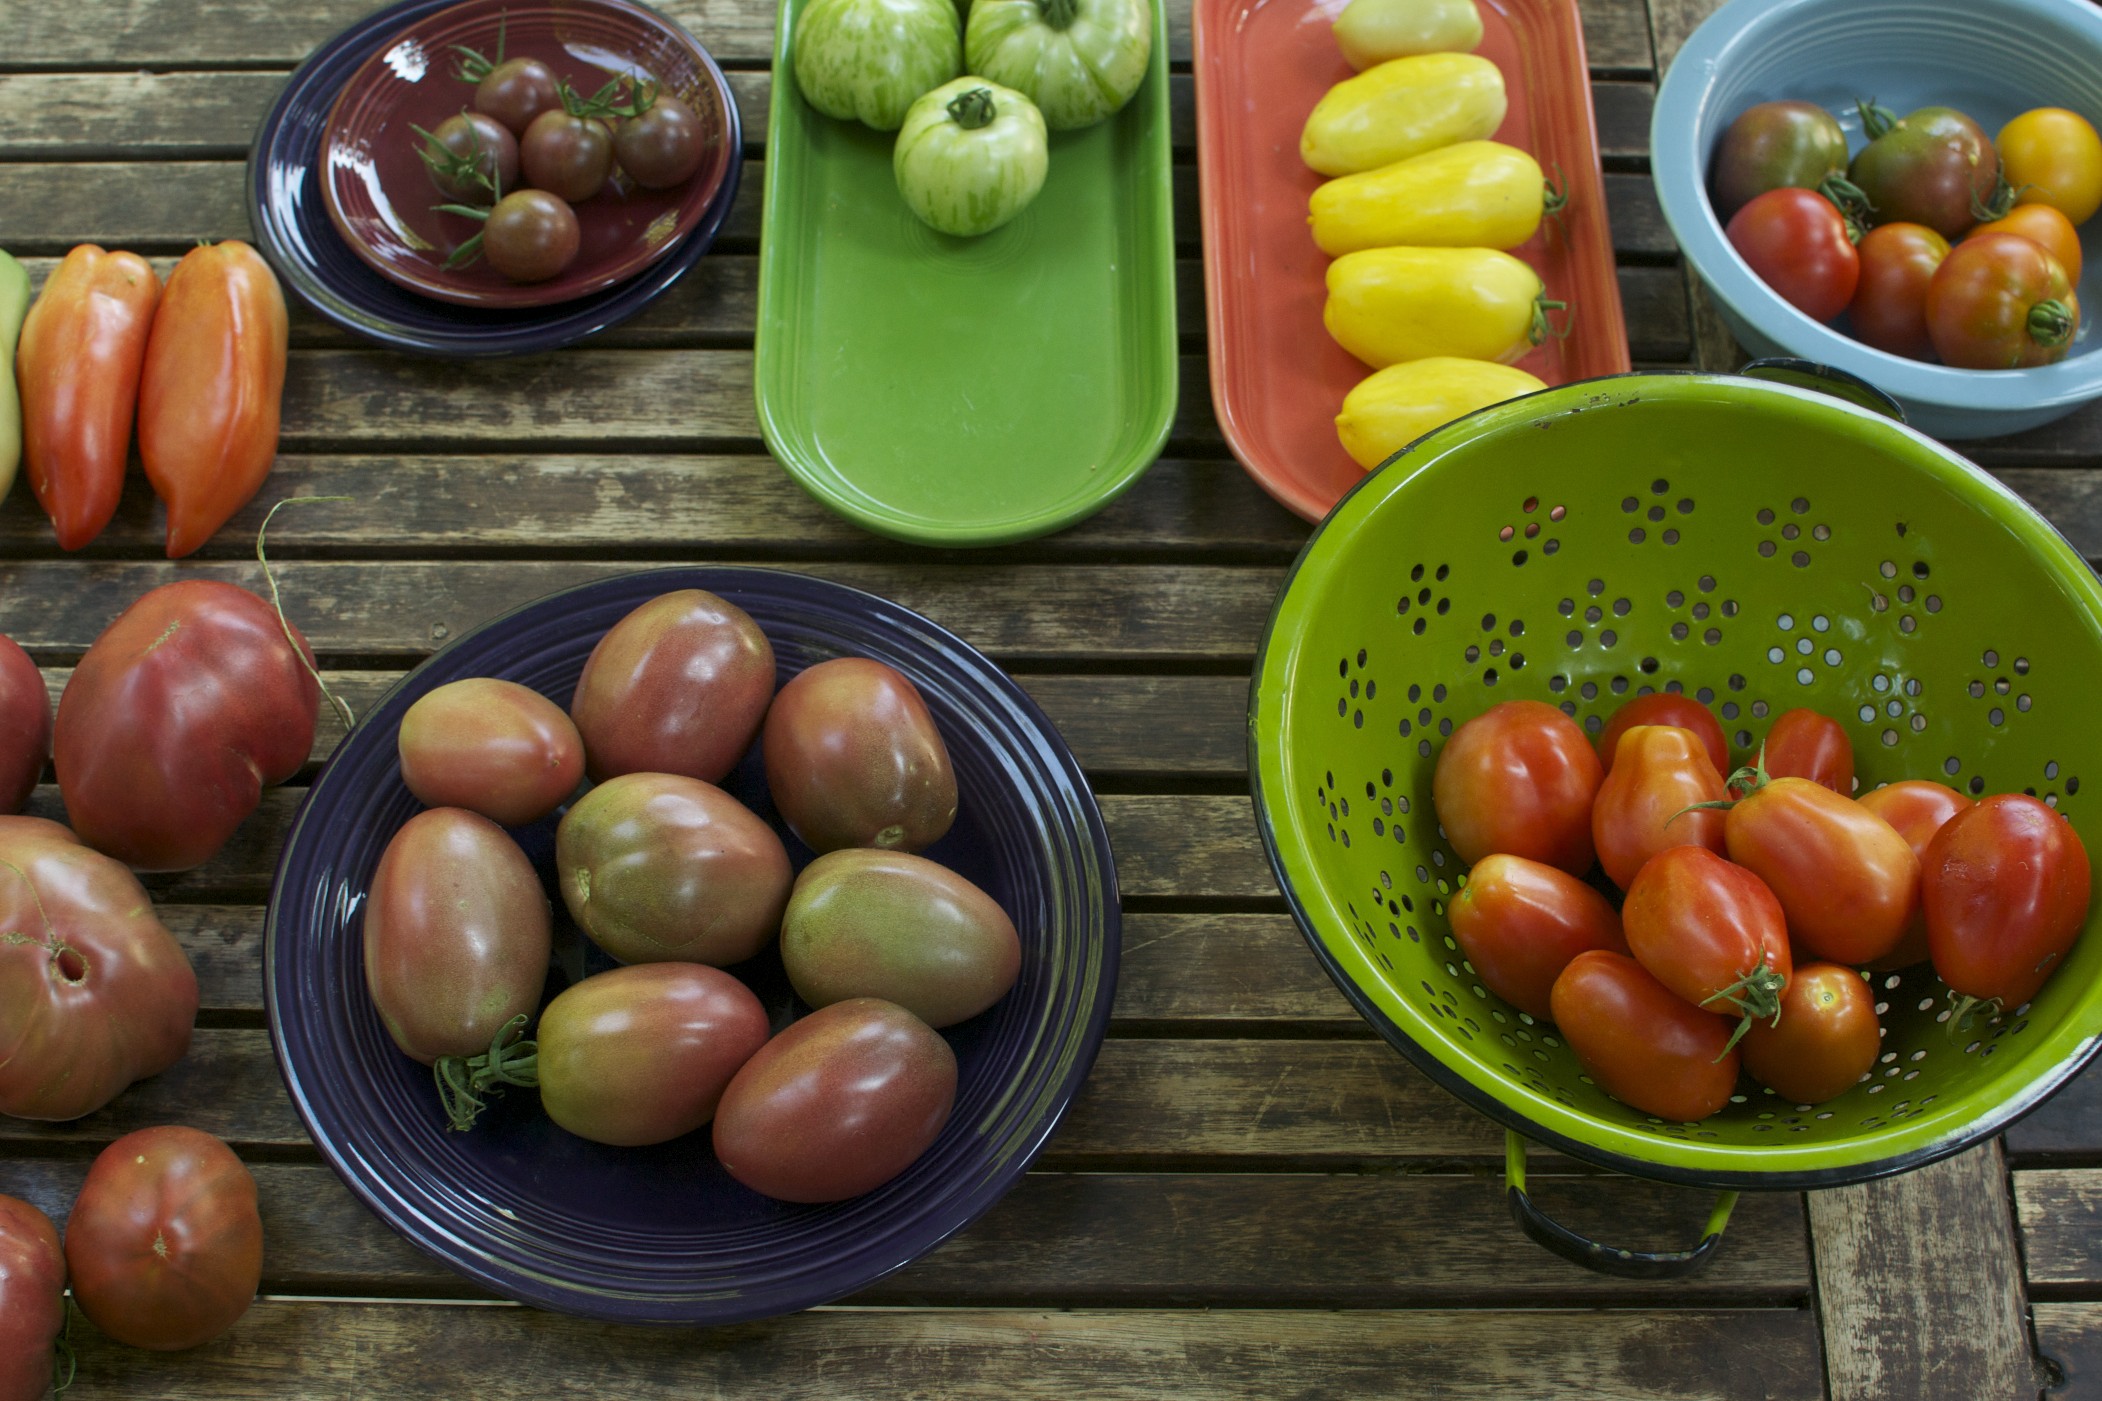
As part of our seed
selling business we save fairly large quantities of tomato seed but the process is the same whether
you are saving from a pile of heirloom tomatoes or from a particularly tasty
one you just sliced up for lunch.

First things first, you need to get
your tomato seeds out of the tomato. You can slice them in half, in
quarters, scoop some out of the one you’re eating or just use my preferred method:
Squishing. A serrated grapefruit spoon makes a great seed saving tool,
especially when dealing with smaller cherry tomatoes.
Just cut them in half and scoop out the inside of the tomatoes leaving the skin
and outer flesh behind.
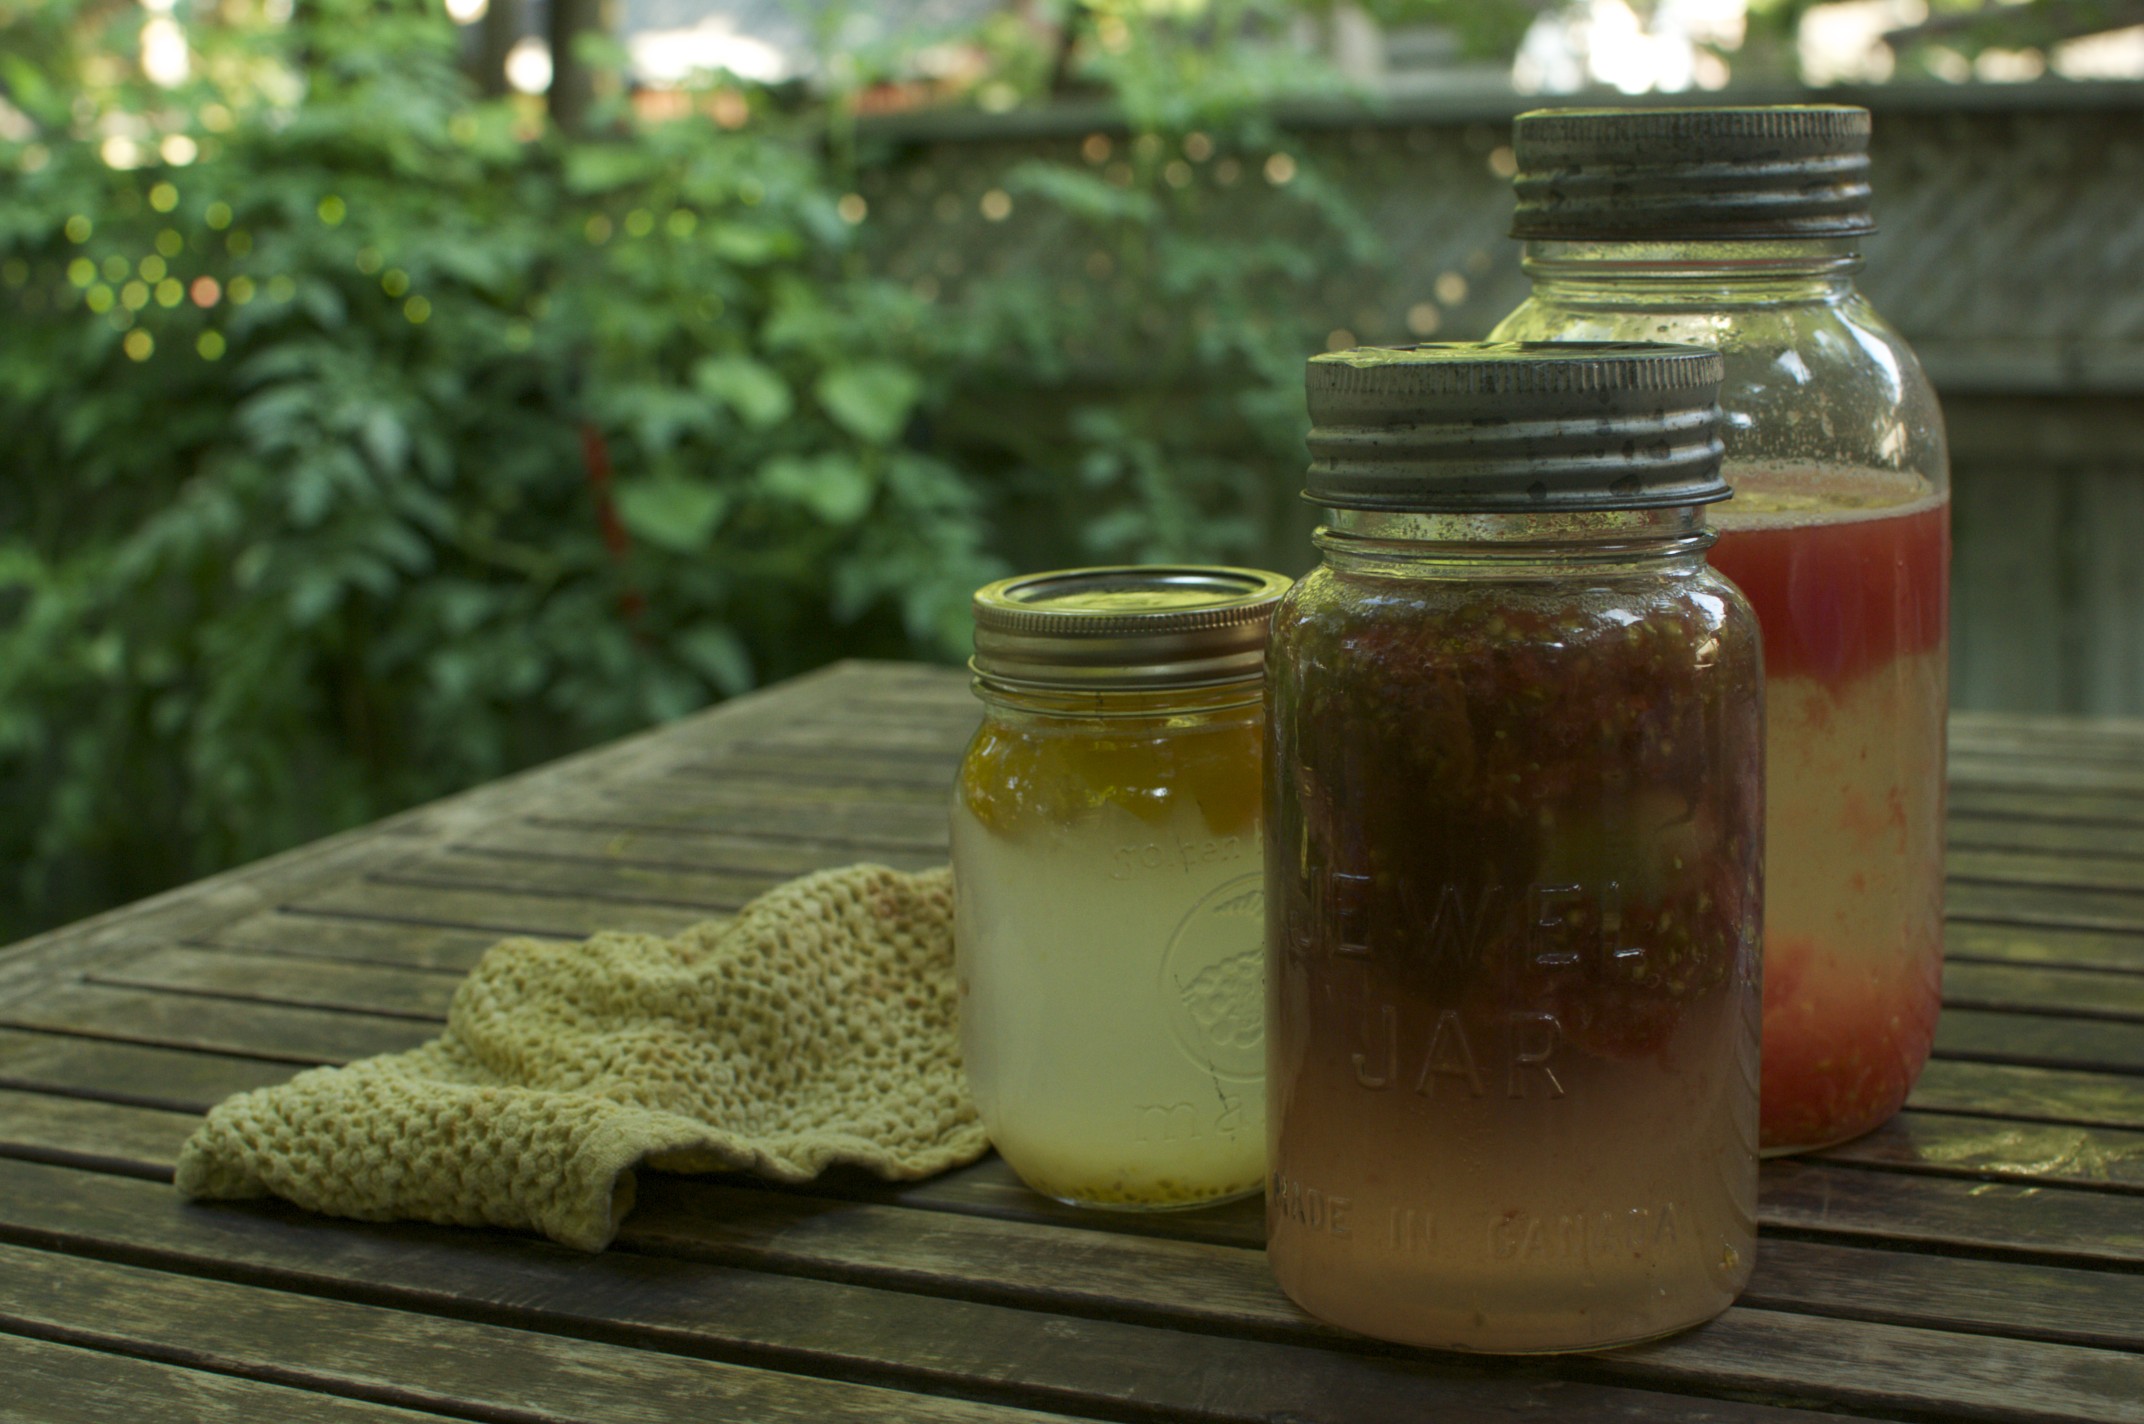
Next the seed pulp is ready to be
combined with water in a container. Glass jars are simple and food safe,
but yogurt containers and Tupperware are perfectly suitable. The only really
important factor is that the container needs a lid. It’s going to get stinky so
the lid is not optional.
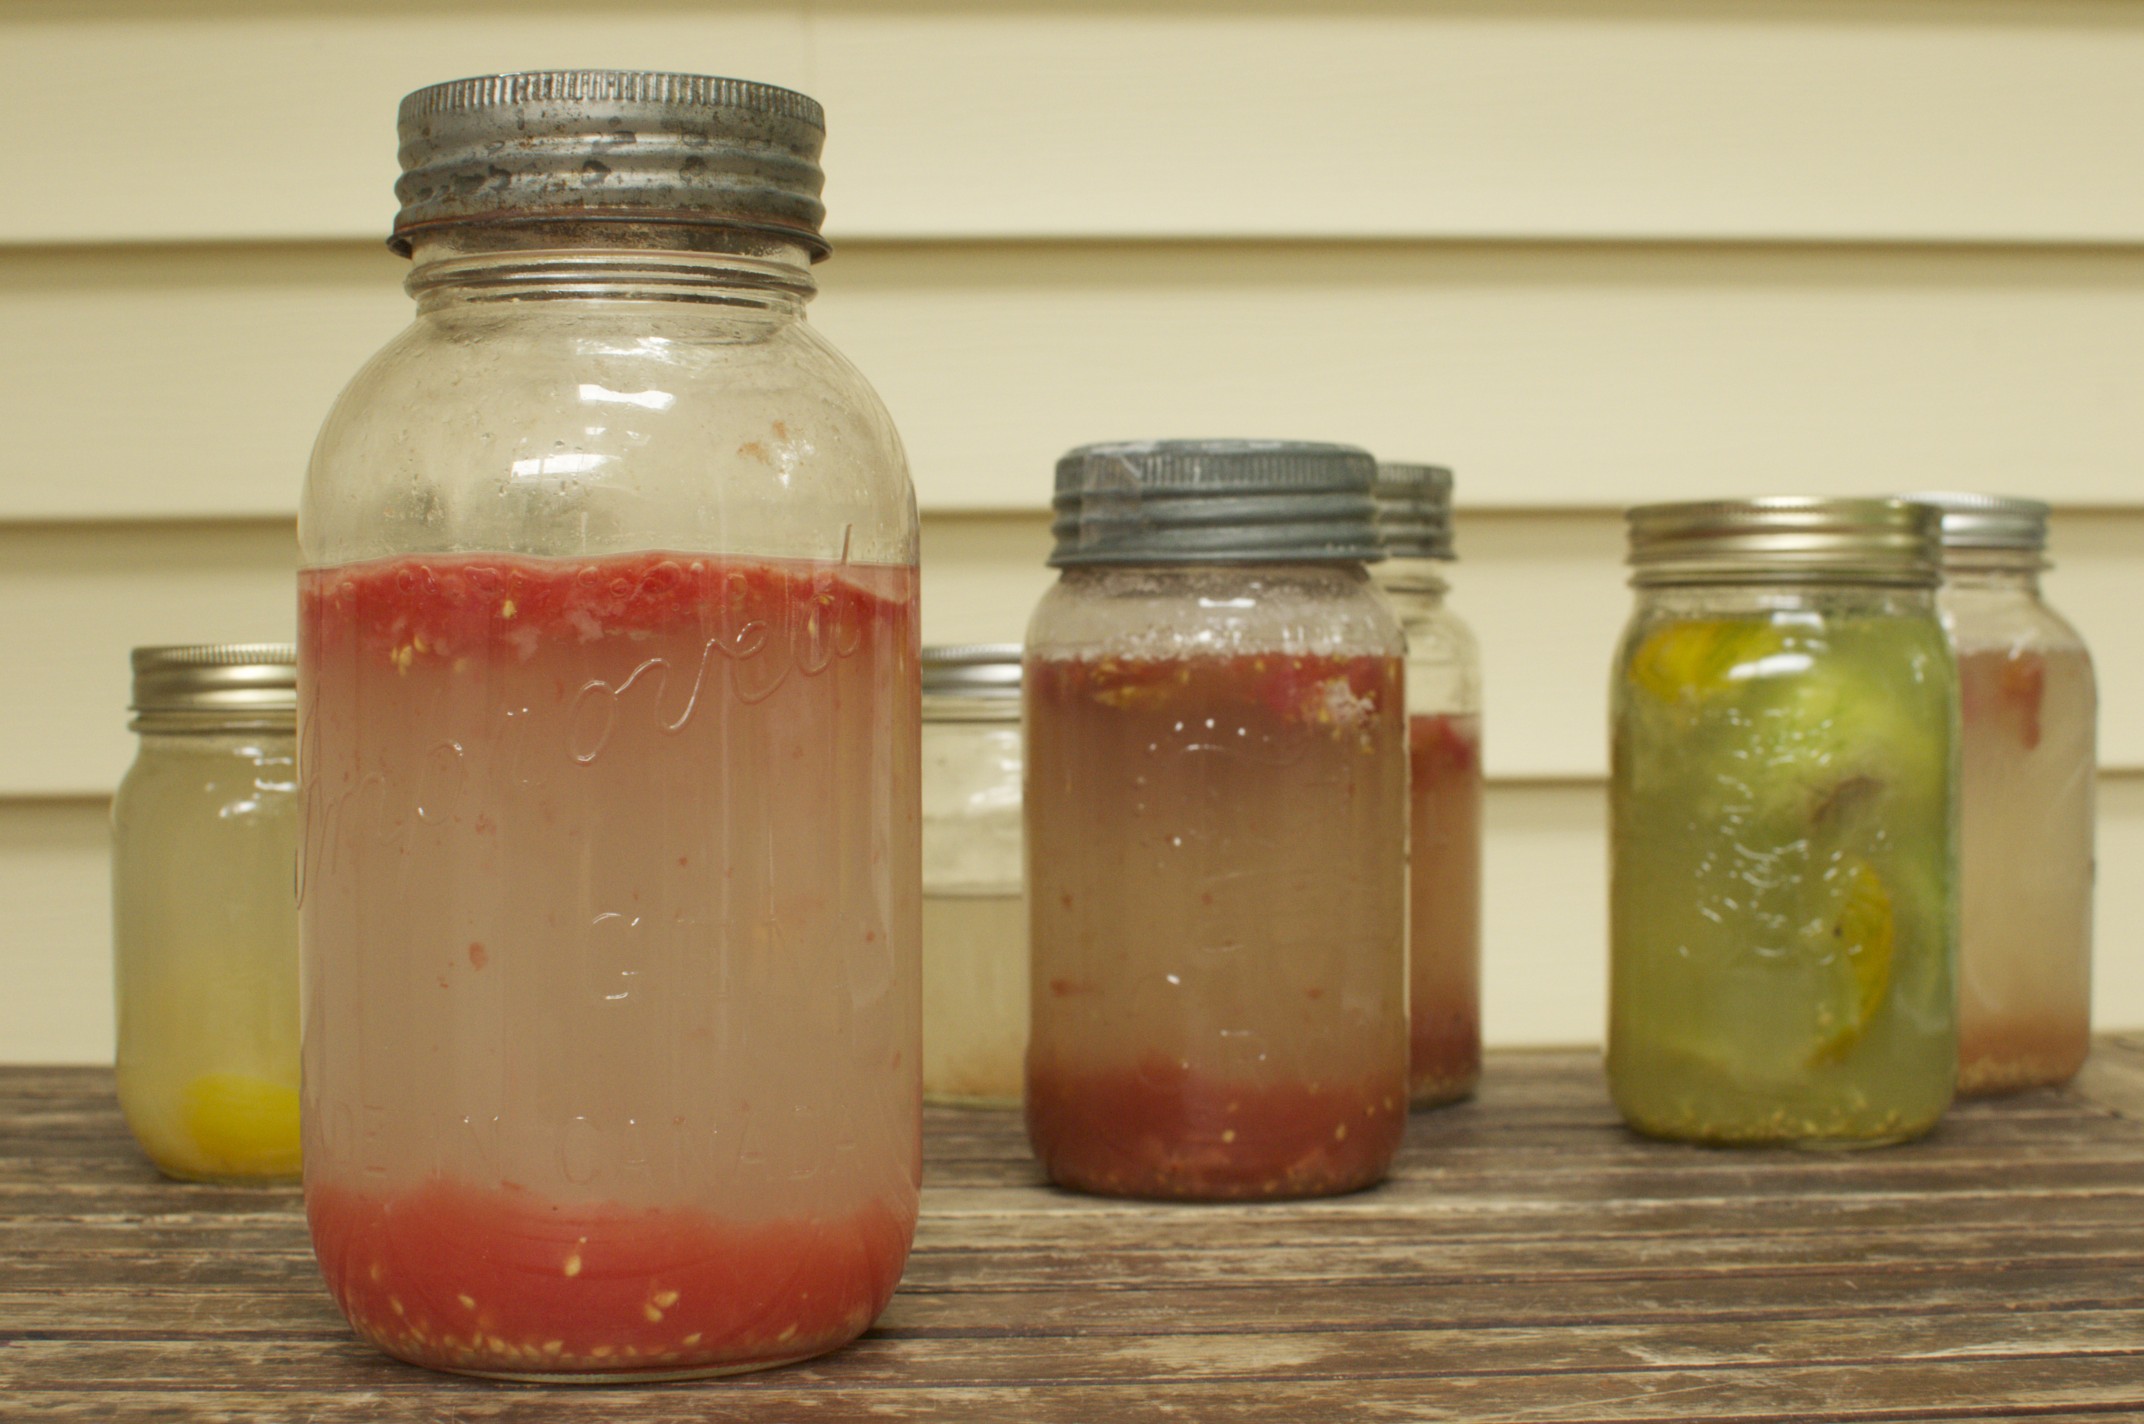
Make sure to label each variety as
you go as tomato seeds all look very similar and the colored pulp is going to
break down.
Place them out of direct sunlight
and walk away for a few days. You’ll start to see the good seeds settle from
the pulp down to the bottom of the container.
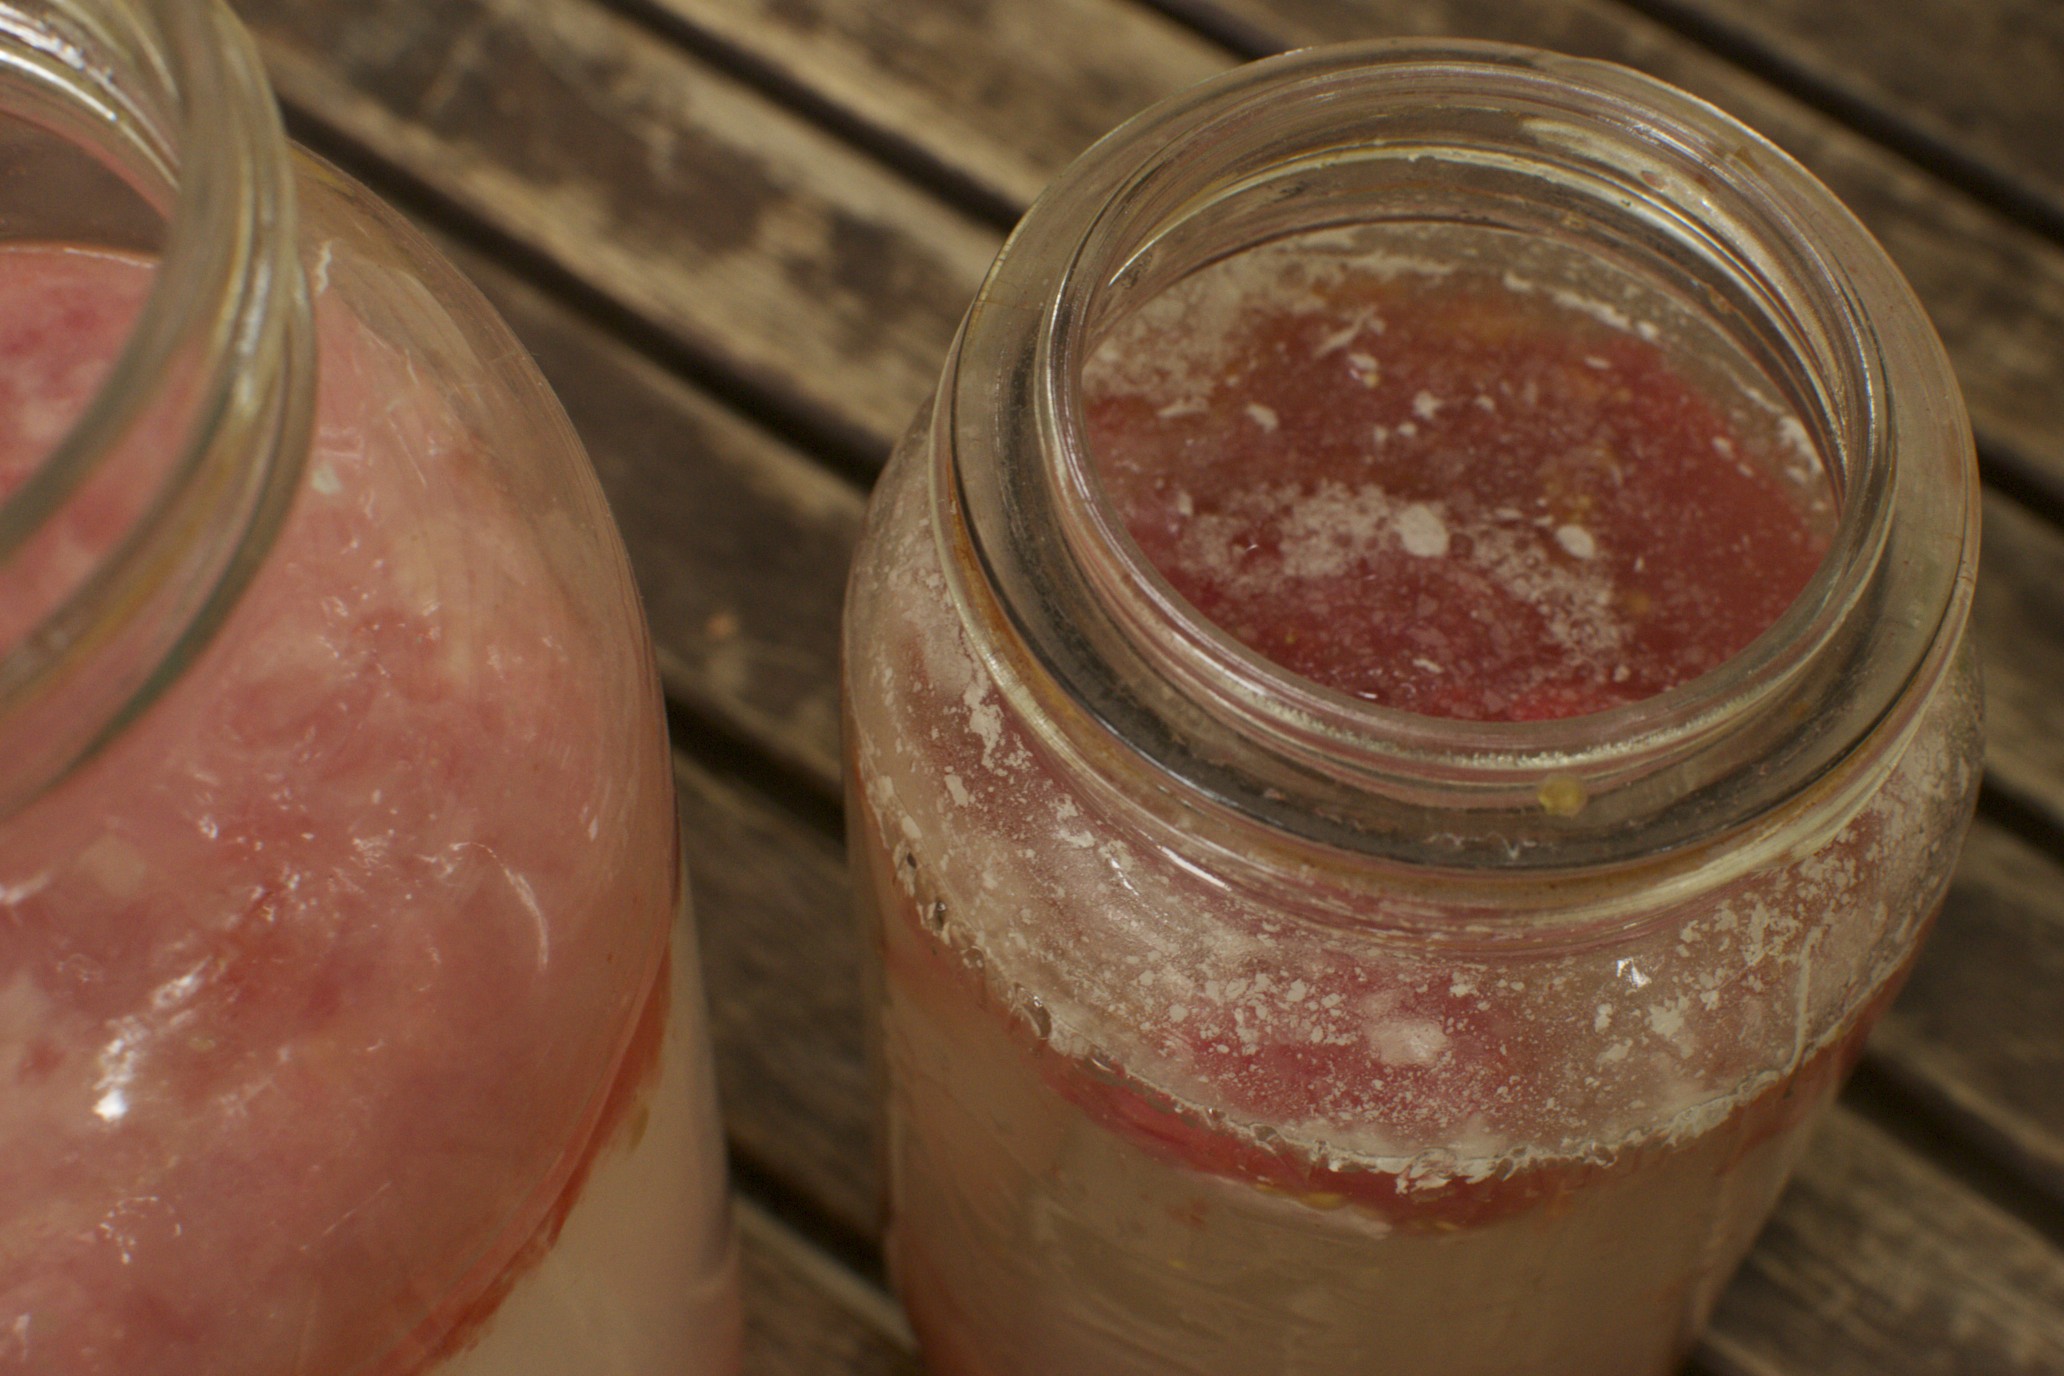
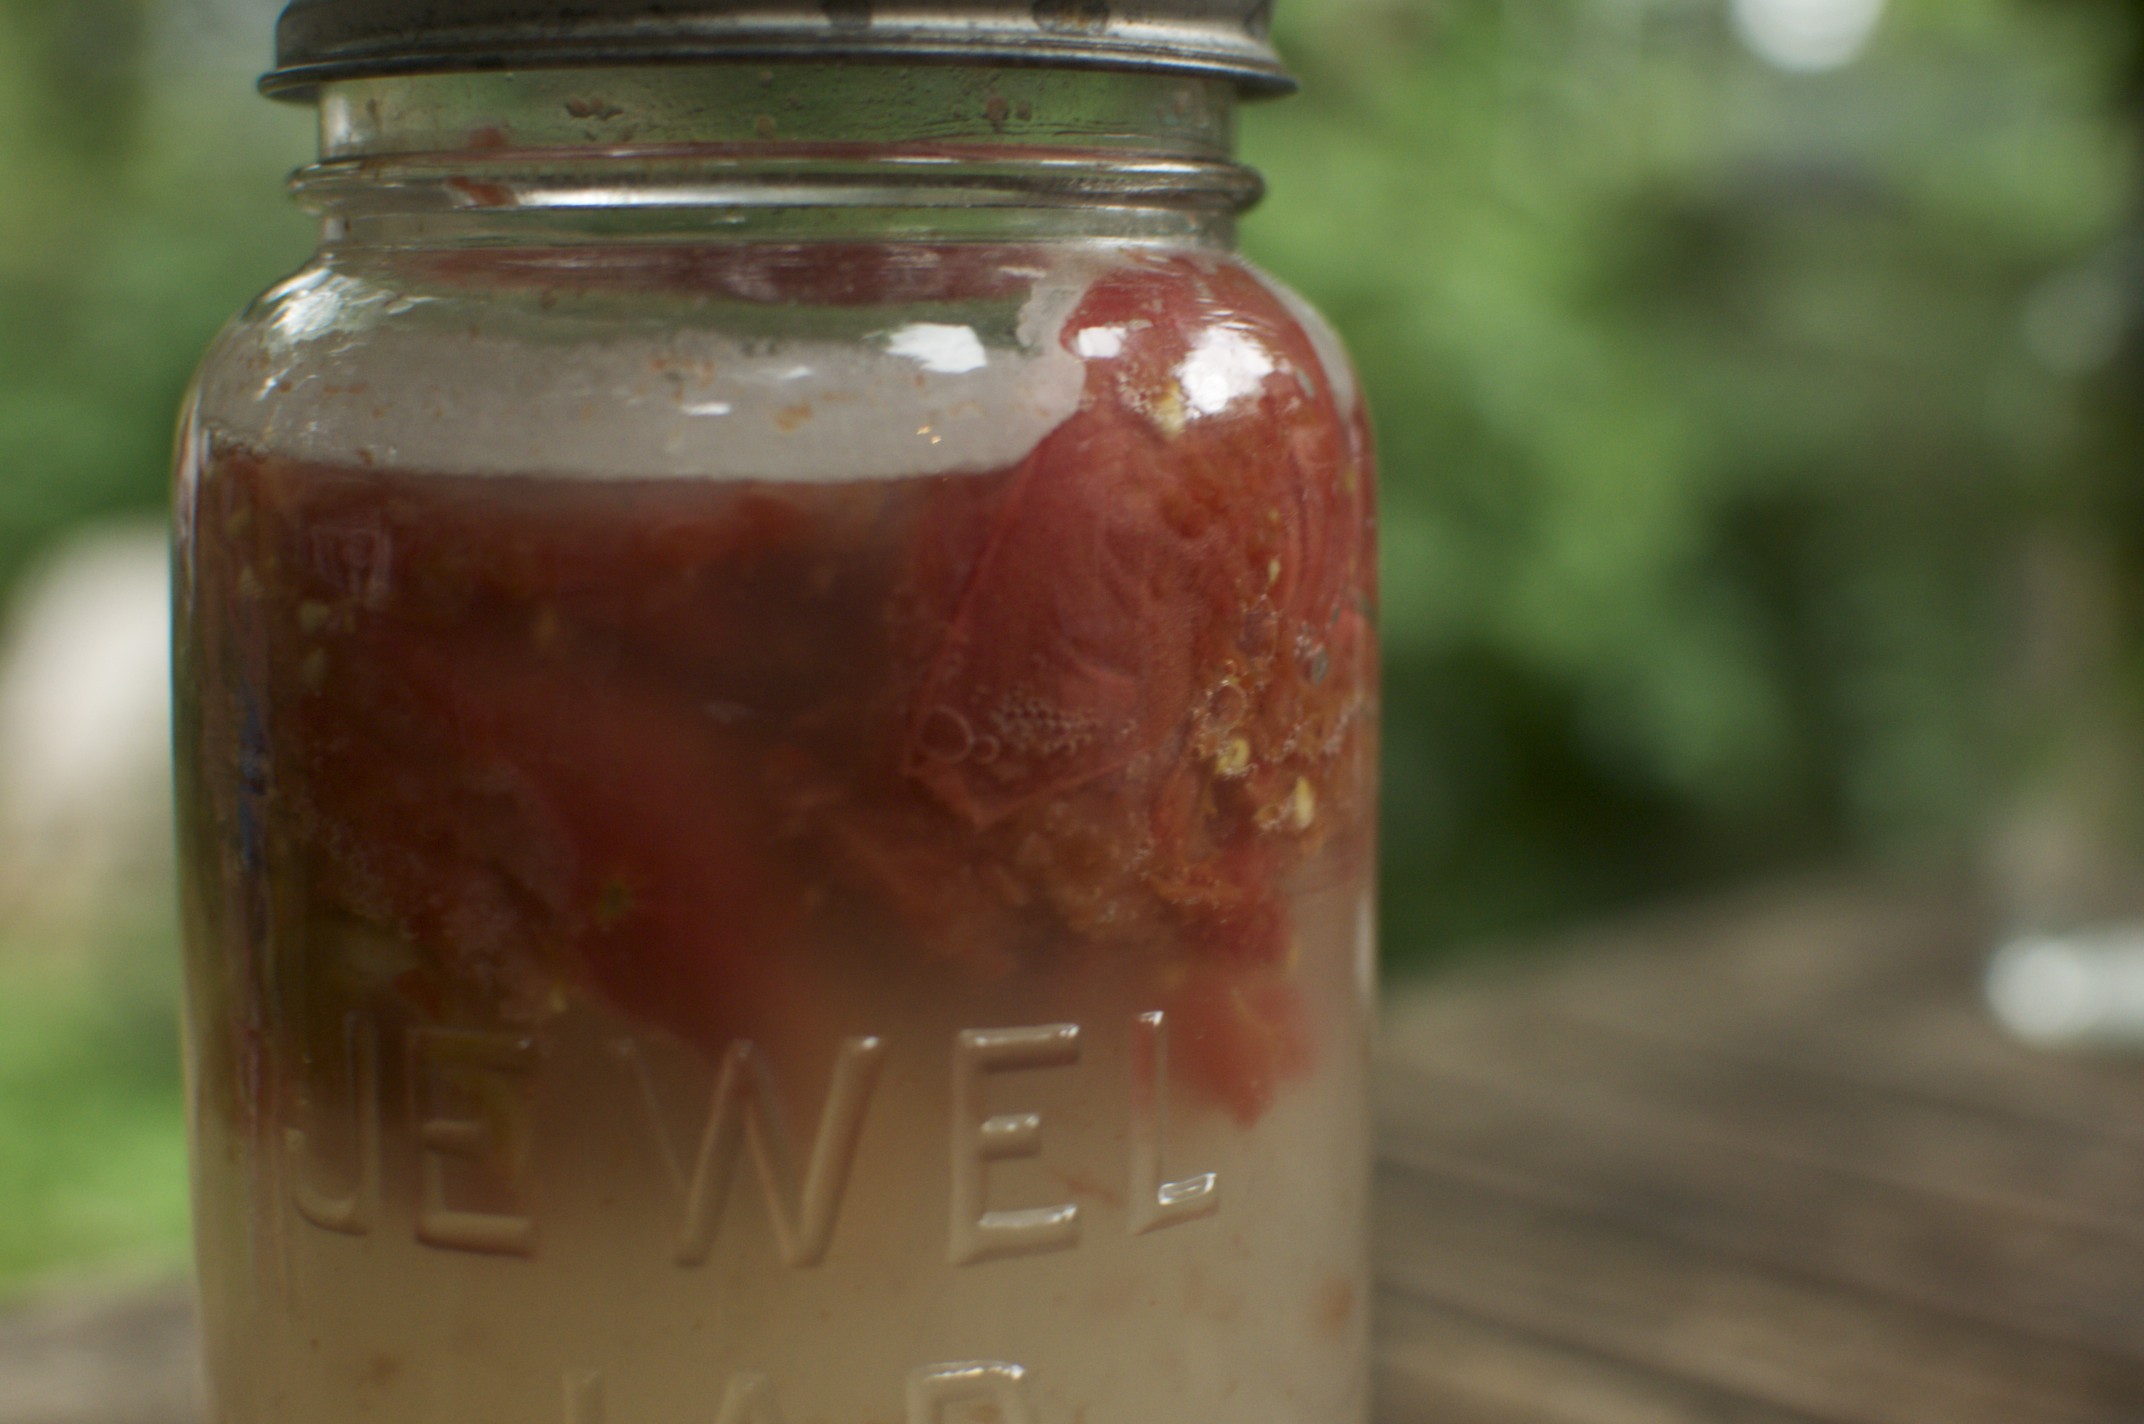
Now things will start to ferment.
This fermentation process is breaking down the protective coating on each seed.
After a few days and once you have a good layer of fuzzy stuff, dump it off,
leaving the seeds in the bottom of the jar. Any seeds at the top are
duds, the good stuff is all at the bottom. Top up the jar with some clean
water and let it all happen again. Once the seeds are starting to settle
cleanly at the bottom they are done. Be careful not to leave things
unsupervised for too many days as the seeds could start germinating.
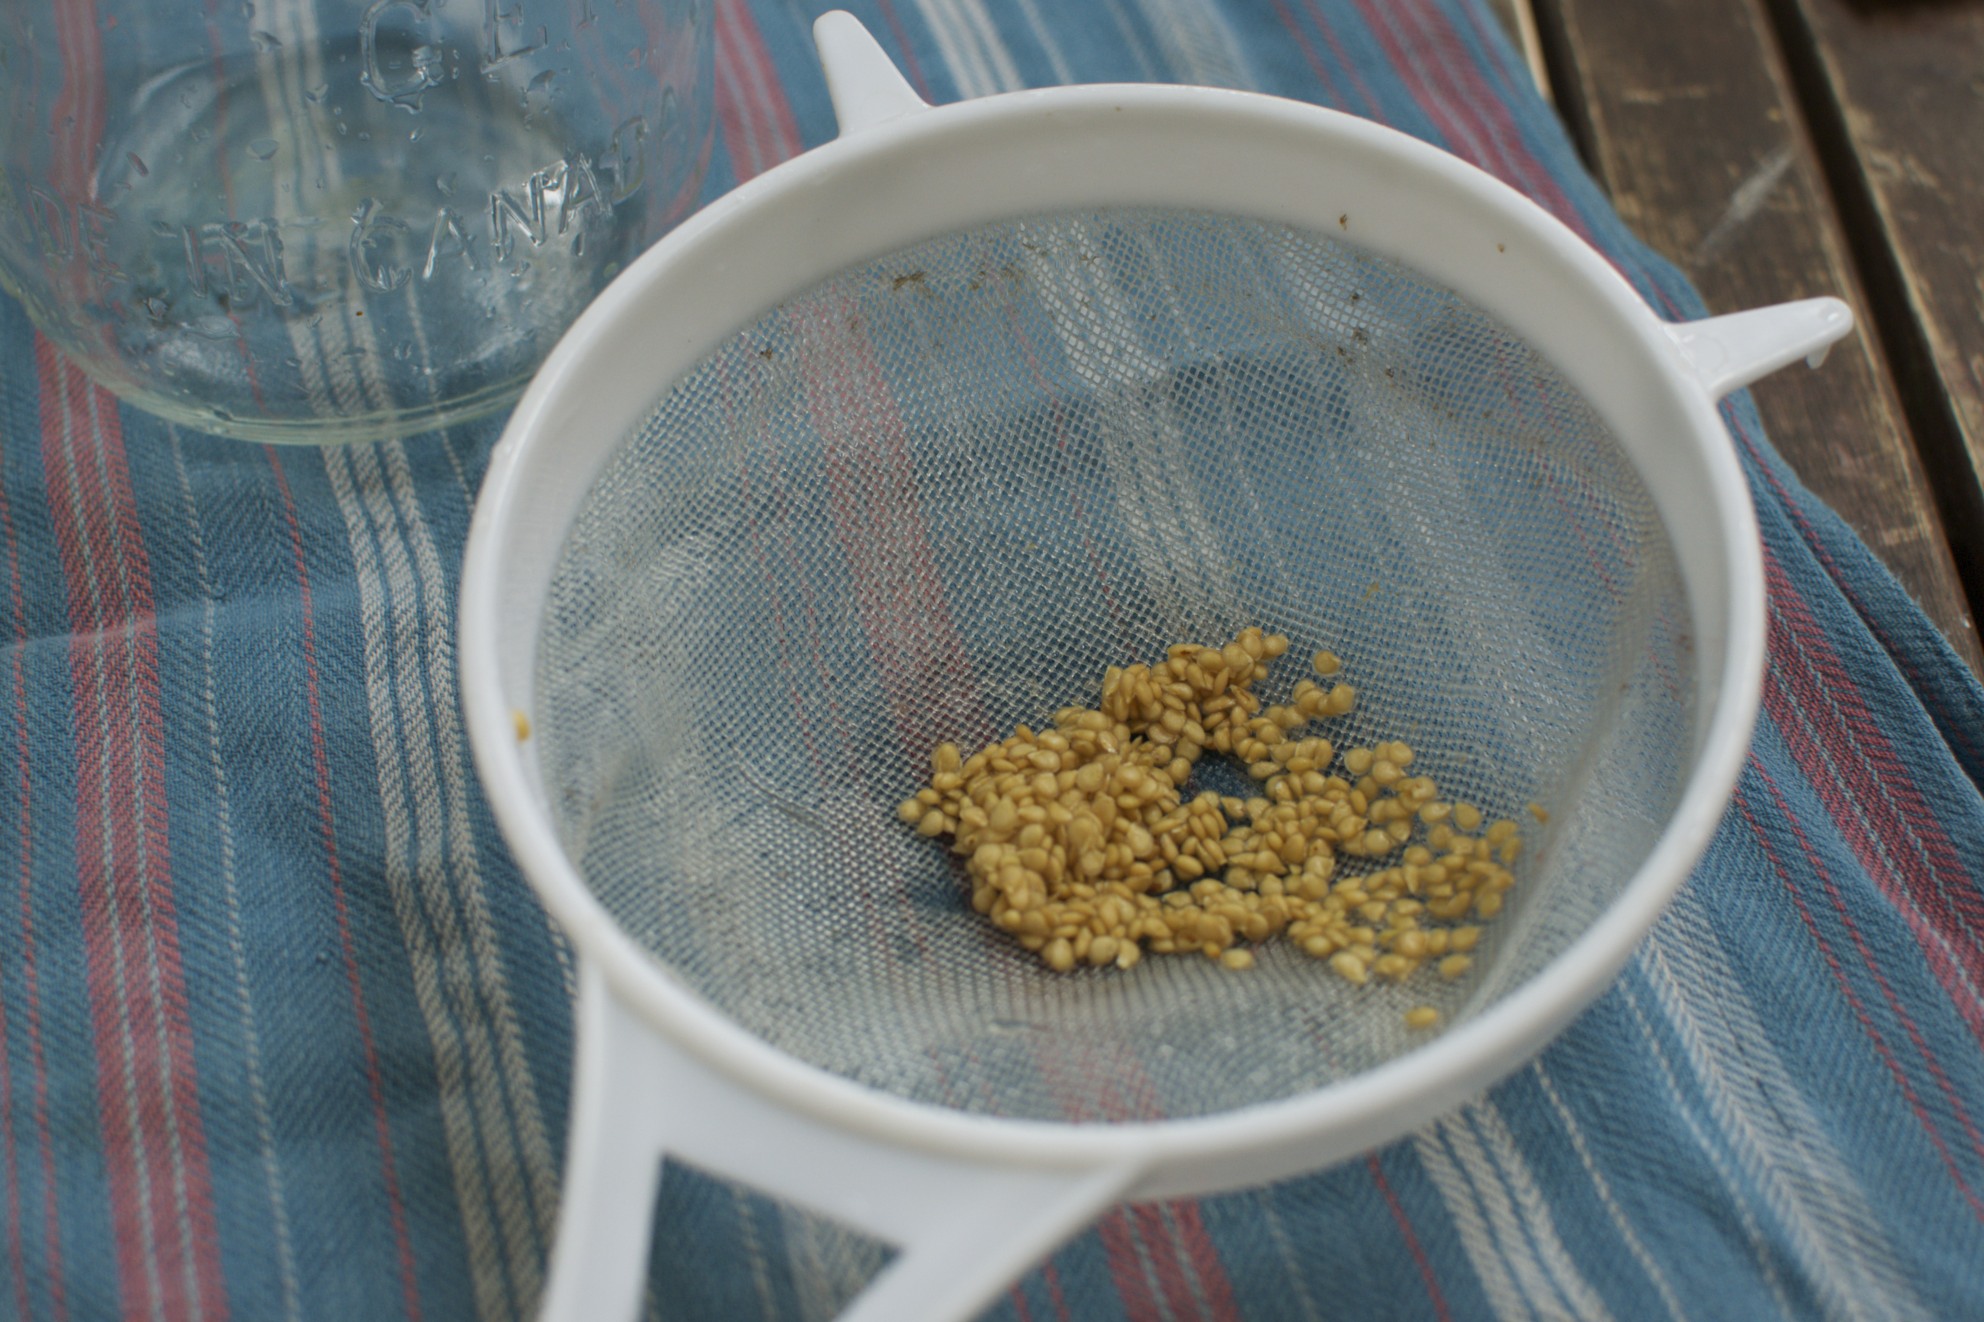
Once the seeds are ready, pour off
any remaining pulp and mold.
Using a strainer, give your seeds a
final rinse. They should be looking rather naked by now.
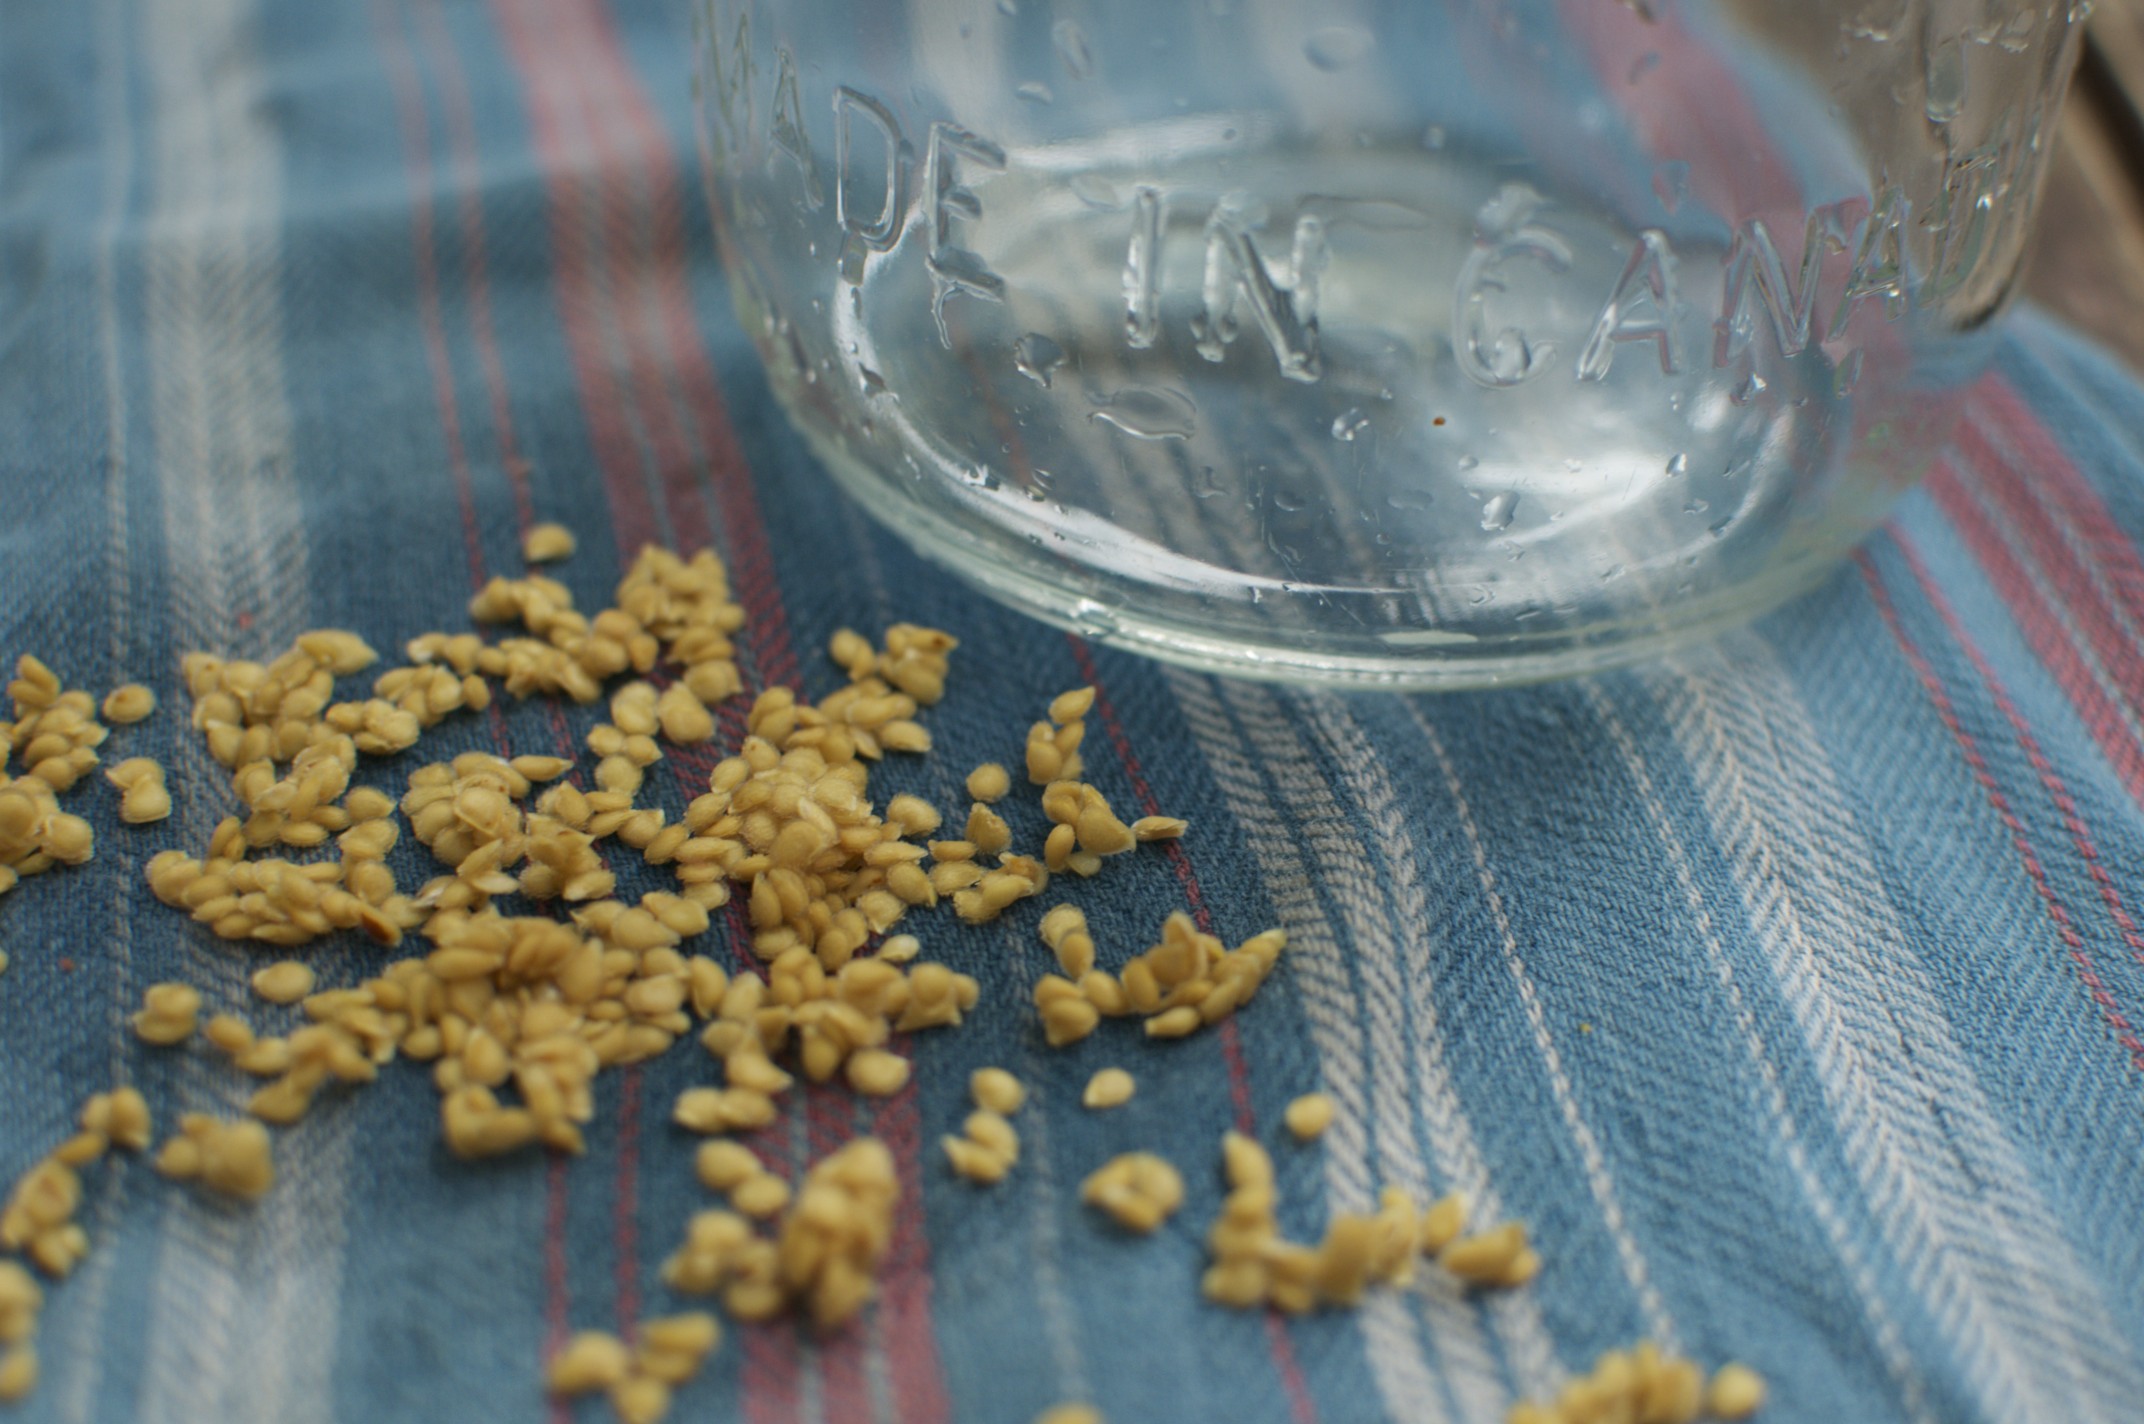
Now you just need to let them dry.
A stack of clean rags or old tea towels work best, as paper towels
sometimes stick.
Once again, label your seeds.
Package them up a few days later when they’re perfectly dry and you’re set.
Next spring you’ll have more tomato seeds then you can plant.
Trading them with fellow seed savers and planting a few extra for
gardening neighbors is highly recommended.
No comments:
Post a Comment